Saturday, January 31, 2015

My Current Skin Care Routine


Happy Saturday Beauties, 

Someone asked me to share my current skin care routine and as you can see I am not a loyal to one specific brand. Believe it or not, a couple of years ago when I first had the girls (twins) I totally neglected my skin and my routine was non-existent. I got away with it then. Then about two and half years later, I had my son, and once he turned three months old I started getting all types of hormonal breakouts on my chin, the sides of my face, forehead, etc. So this is when I had to incorporate foundation in order to cover up all of my dark spots. I then did some research on skin care and found some ideas on how to eliminate acne. So below you will find the steps I take for my current skin care routine

  Now, I used to sell Mary Kay and I still have a couple of old items that I still use, which you can tell from the packaging, lol. But they still work so, why not?

Step 1: Make-Up Remover Towlettes - I am currently using The Forever Young Cucumber 30-Count Facial Make-Up Wipes ($12.03 @ Overstock). However I bought these at T.J. Maxx for $1.99. This is why I rummage through the T.J. Maxx and Marshall beauty sections, because you will find great things.  This is my first step because I remove all of the make-up before cleansing my face.  


Step 2: Cleansing – I am currently using the Cetaphil Cleanser ($15.98), because it is gentle and I exfoliate my skin by using the Diva Darling ($6.75 @ Amazon).  However, I purchased the one below from Marshalls (and please excuse the stain from my foundation). I love this cloth. It is a micro-fiber cloth that really exfoliates the skin. When I first bought it I was skeptical, but after using it I was extremely impressed.  If you don't want to go out and find this or purchase it online, you can just purchase a brand new micro-fiber cloth (that you clean with) and only use it on your face and you will receive the same results.  


Step 3: Mask (once a week) - Formula 10.0.6 Pores Be Pure Skin-Clarifying Mud Mask , $5.99
Pores Be Pure is a skin-refining mask with berry boosters that work on clogged pores. The strawberry and rosemary within the formula help to eliminate impurities, while the yarrow clarifies skin for instant complexion perfection.  This is a great mask for the price it smells like strawberries. It makes my skin feel really clean.  I found this at my local Ulta.


Step 4: Toner - I use the Neutrogena Alcohol-Free Toner ($7.99), and I use this just to remove the remaining traces of foundation that may still be on my face, however, ever since I started using the Diva Darling Diva Dryer on my face I haven't been seeing any remaining traces of make-up which is great. The purpose of toner is to gently remove impurities while maintaining the natural moisture of the skin since it is alcohol free.   Ever since I incorporated a toner into my routine I have seen less breakouts. 

Step 5: Eye Cream - I am currently using the MaryKay Eye Firming Cream ($32.00) and when I don't use it I can tell the difference in my under eye area because there are more lines and creases. This eye cream work really well.  It is now called the Time Wise Eye Firming Cream. I guess you can tell how old this is because of the packaging. 

Step 6: Serum - Clinique Even Better Clinical Dark Spot Corrector ($47.50 @ Amazon)
I believe this is $49.50 on the Clinique website, however I purchased this bottle from the Cosmetics Company from the Tanger Outlet's at the National Harbor for $37.50.  I don't mind paying this amount for dark spot corrector's because my dark spots used to be really bad.  Therefore, this stuff really works. It works better than the StriVectin-EV Get Even Brightening Serum in my opinion (that is what I had before Clinique).  I don't have any before or after pics but after using this Clinique for a month I saw a big difference in my hyper-pigmentation.  It's a great formula and I highly recommend it. I am currently running low and getting sad about it :(


Step 7: Moisturize - After I let the Clinique dark spot corrector dry I then apply my Mary Kay Enriched Moisturizer Formula ($18.00) 1 (The Formula 1 in Mary Kay is for dry skin). I love this moisturizer because it is really lightweight even though its for dry skin.  


Step 8 (Finally!): Primer (before I apply my foundation in the morning) - The Benefit POREfessional Primer, $31.00. 
I bought this for my wedding day make up so that my foundation would go on smoothly and last all day and this definitely did the trick.  The packaging states that is minimizes the appearance of pores. When I put this on it my skin feels like velvet.  

That's it, not much right? 

Here is my face after following the steps above.  


As you can see I still have a dark spot that I am working on, on my forehead, and this came from me picking at a bump. Why did I do that? I don't know. The next one I get I'm going to try my best not to pick it.  

Let me know what your must haves are within your current skin care routine. I would love to know. 

Thanks for reading!!!

Courtney :) 


Wednesday, January 28, 2015

Heatless Curls


Hi Beauties, 

Back on the subject of natural hairstyles.  My last post concerning natural hair was the  twits-out and the products used. Now let's get into how I achieved these curls with no heat whatsoever. My current goal is to leave the heat alone for a spell, since I did the most over the holiday season and during my wedding. My hair needs a break. However, I still want to style it in different ways. So, I picked up a couple of natural hair styling methods here and there and came up with the method below:

It was not hard, just took some time to air dry and for once in a life time I had some time due too the inclement weather we keep getting here in the DMV.


I used the Leave In, Oil, and Cream (LOC) Method on my hair after washing and then used the banding method. I then let it air dry for a day.  

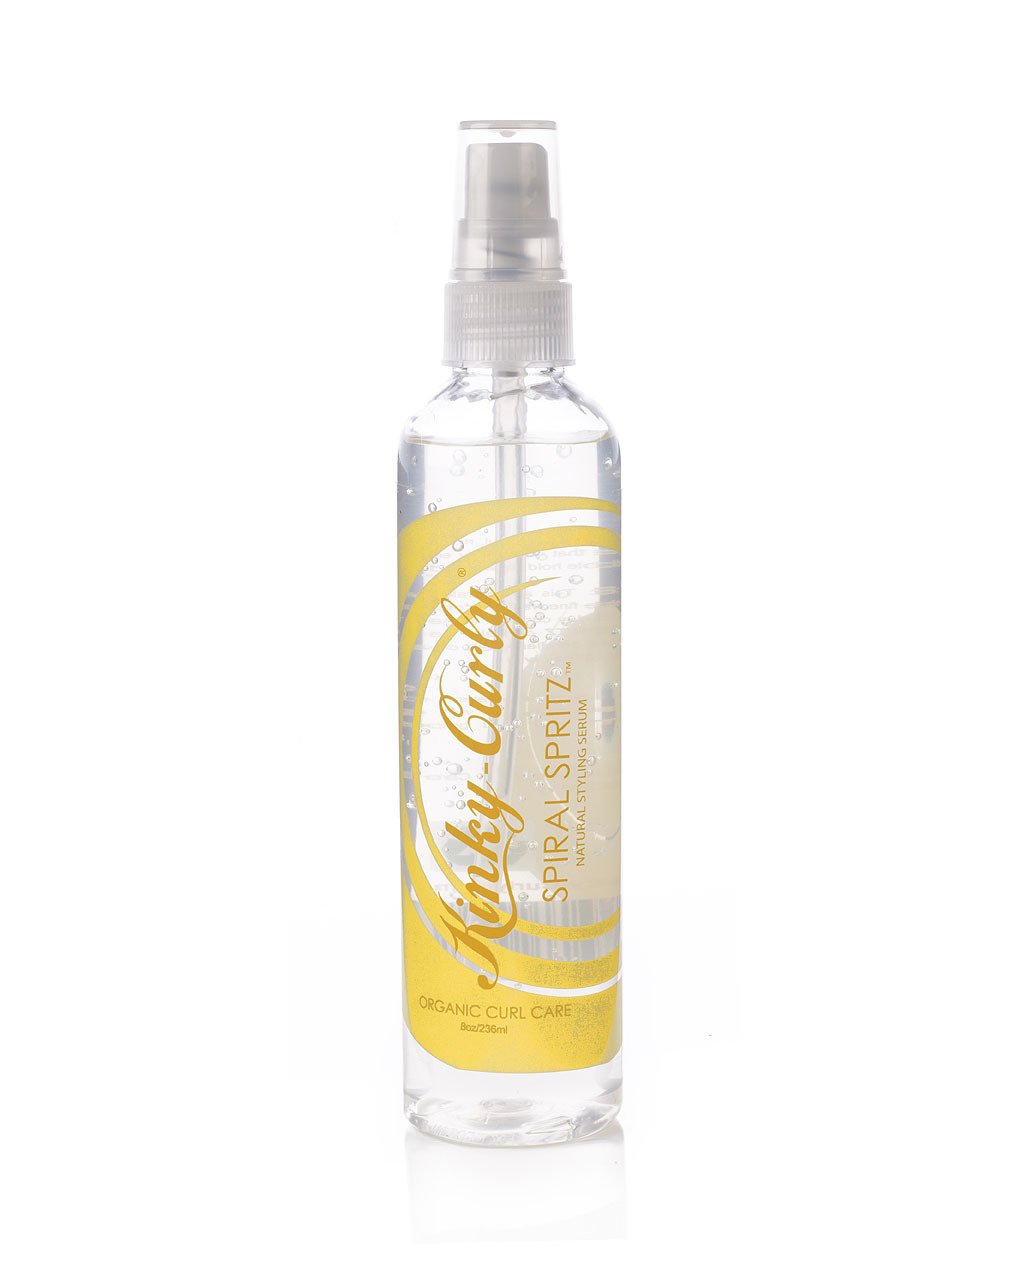
Afterward, I used the Kinky Curly Styling Spritz and then rolled my hair up with some perm rods. 


Then I wrapped my hair with my satin bonnet and went to sleep. 


I woke up the next morning and removed the perm rods and plucked out as many curls as I could before work. 

This was my hair after it fell some more after getting off of work. 


Let me know what you think. Do you have any heat-less styles that you have tried?

Also don't forget to follow me on IG @beautyshowoff and Twitter @CrutieOnDuty

And be sure to Like me on Facebook Beauty Show Off   :) My other social media buttons are located on the side panel of this page. 

Thanks for Reading!!!


Tuesday, January 27, 2015

My Current Favorite Lipsticks


Hello Beautiful People, 

Today I will be sharing my five favorite shades that I keep in my purse on the regular.  I keep these specific shades on hand while I am out, just in case I want to switch my look up from natural to  a little more dramatic. 


I really love this color because it has an orange undertone that I like to pair with an orange blush that I have. I think this is a great colder weather shade.  


I love this lipstick color. The last time I wore it was to the Redskins game. It was the perfect shade for my Redskins gear. Love this color because it is a deeper red, however it is still subtle.  

(3) Kat Von D Painted Love Lipstick in Ritual, $5.99 from TJ Maxx, $30.00 from Amazon


I was so excited when I found this shade at TJ Maxx for $5.99, when I know that Kat Von D is one of the more higher end brands that you can find at Sephora. I didn't try it on in the store, so I was a little nervous at the same time. When I got home and tried it I was so happy.  What a great find!! I would highly recommend looking through the cosmetics at TJ Maxx and Marshalls because you never know what you may find.  

(4) MAC Pro Longwear Lipstick in Made to Last , $12.00 from the Cosmetic Company at the Tanger Outlets, $49.52 from Amazon


I found this color at the Cosmetic Company that is located at the National Harbor Tanger Outlets.  This store sells higher end brands such as Bobbi Brown, MAC, and Estee Lauder at a discounted price.  Whenever I put this color on I feel like I'm putting chocolate on my lips. I believe that it is currently discontinued, so I think the only place you can find it is where I stated above and Amazon :(


I randomly found this at the MAC store in Union Station and fell in love. It is basically a sheer red.  It reminds me of a "my lips but better" shade.  Love it!!

Again,  
these are currently the lipsticks that stay on me at all times within the make up bag I keep in my purse.  


Let me know what lipsticks you currently keep in your purse or what your favorites are during the this current winter season. 

Thanks for reading!!!

Courtney ;) 


Thursday, January 22, 2015

Anastasia Beverly Hills: Tamanna Palette Review and Look


Greetings Beauties! 

Today I will be reviewing the Anastasia Beverly Hill Tamanna Palette while also displaying a smokey eye look that I did with it.  This palette was designed by a make up artist by the name of Tamanna Roashan and her social media name is +DressYourFace. She designed these colors for the fall and holiday season and they were designed with lighter and darker skin tones in mind.  I purchased this palette from Ulta for $29.00 and I think it is now sold out (I am just realizing this as I am writing this post, sorry).  The Anastasia Beverly Hills palettes are usually limited edition palettes, therefore, they sell out.  They currently have the Maya Mia Palette available. This particular palette was out before, so Anastasia Beverly Hills has reissued it.   I personally really love this palette (Tamanna) because there are a combination of really pretty lighter and darker shades that can create a complete look.  There are also a combination of matte and shimmery shades. This palette also comes with a two ended brush.  


With the look below I started with an eye shadow base, which was the MAC Paint Pot in Painterly. I then used the Bengal shade and swiped in over my crease area with an IT Cosmetics Crease Bush. I then used the Noir shade and put that over my eyelid. Afterward, I used Custom and put that over the Noir shade.  Then I used Chocolate as an ascent shade on the outer corner of my eye.  I also took a pencil brush and applied the chocolate shade along my lower lash line. Lastly I applied the NYX Collection Noir Liquid Black Liner along with the L'Oreal Voluminous Miss Manga mascara on the lashes. I then applied some falsies.  

Let me know what you think and if you have any palettes that you are currently using.  Also, let me know if you have this palette and what your favorite shades are within the palette. My favorite are Custom, China Rose, Sangria, and Gilded. I may do a look with these shades as well. 

Take Care and Thanks for reading!

Courtney :) 


Tuesday, January 20, 2015

My Everyday Makeup Routine

Below are my current go to products for my everyday make up routine. These are what I have on hand for everyday use before heading out the door for work in the morning.  


(2) Foundation: MAC Pro Longwear  in NW47, $32.00
(3) Under Eye Concealer: NYX HD Concealer in Nutmeg, $4.99 
(4) Set Concealer: MAC Prep & Prime Transparent Powder, $26.00
(7) Highlight: Becca Highlighter in Topez, $38.00 
(8) Eyeliner (top lash line): NYX Collection Noir Black Liquid Eyeliner, $5.99
(9) Eyeliner (lower lash): NYX Collectiong Noir Black Khol Pencil, $7.35
(10) Mascara: L'Oreal Telescopic Mascara in Brown, $9.99 
(11) Lip Liner: NYX Lip Liner in Coffee, $3.50


Let me know what you use on an every day basis.  

Thanks for Reading! 

Courtney :) 


Sunday, January 18, 2015

How To: Fill In Your Brows


Happy Sunday Beauties! 

In today’s post we will be covering eyebrows and how to fill them in.  Eyebrows are one of the most important aspects of the face that you really can’t ignore.  I used to try to ignore them, however they are not to be ignored because they frame your face. 

I have recently started doing my brows right after applying my moisturizer in the morning in order to get it over with (because they can be the most nerve wrecking aspect of my everyday make-up routine - Post coming soon).

Here is what they look like before filling them in (A Mess): 


Not really much to work with, right? This is what used to intimidate me. However there is hope for these bald brows, lol.

These are the products and tools I use:


Step One: With the eyebrow pencil I outline my brow to the shape I want it to be, beginning at the bottom of the brow. I then outline the top. 


Step Two: I grab the eyebrow/eyeliner brush and begin to brush out the harsh lines I made with the pencil. 


Step Three: Now on to the concealer. I then use the eyeliner end of the eyeliner/eyebrow brush and pick up both shades of the Black Radiance concealer product. Then I begin to trace along the bottom portion of the brow. Afterwards, I blend downward toward the eyelid. 


Step Four: Then I move on to outlining the top of the brow with the same two shades of concealer. Afterwards, I make sure I blend it out by swiping the eyeliner brush upward toward the forehead. 


Step 5: Lastly, I switch to using the eyebrow brush again and brush the eyebrows into place. I also brush in order to get rid of any other harsh lines created after adding the concealer.  The purpose of this step is to make the brow look as natural as possible.

This is the end product: 


Before 
After


My eyebrows take me a bout five minutes in the morning. The lady at the MAC counter recently told me that it takes her 45 minutes to do her brows in the morning. I do not have that much time (clearly) so this is what works for me.  I try not to dwell to much on making them match because eyebrows are considered cousins not twin sisters.  

There you have it. Let me know if you have any questions and what products you use to fill in your brows.  Also, let me know if this was helpful for you. 

Feel free to also let me know what you would like me to post about next.

Thanks for reading!

Courtney